
A landing page is one of the most effective tools for generating leads, increasing sales, and improving marketing campaign performance. Unlike a traditional website page, a landing page focuses on a single objective, such as collecting email addresses, promoting a product, or encouraging visitors to start a free trial.
Unbounce makes it easy to build professional landing pages without coding. With its drag-and-drop builder, customizable templates, AI-powered optimization, and built-in testing tools, marketers can launch high-converting pages in just a few hours.
This guide walks you through the process of creating your first landing page in Unbounce.
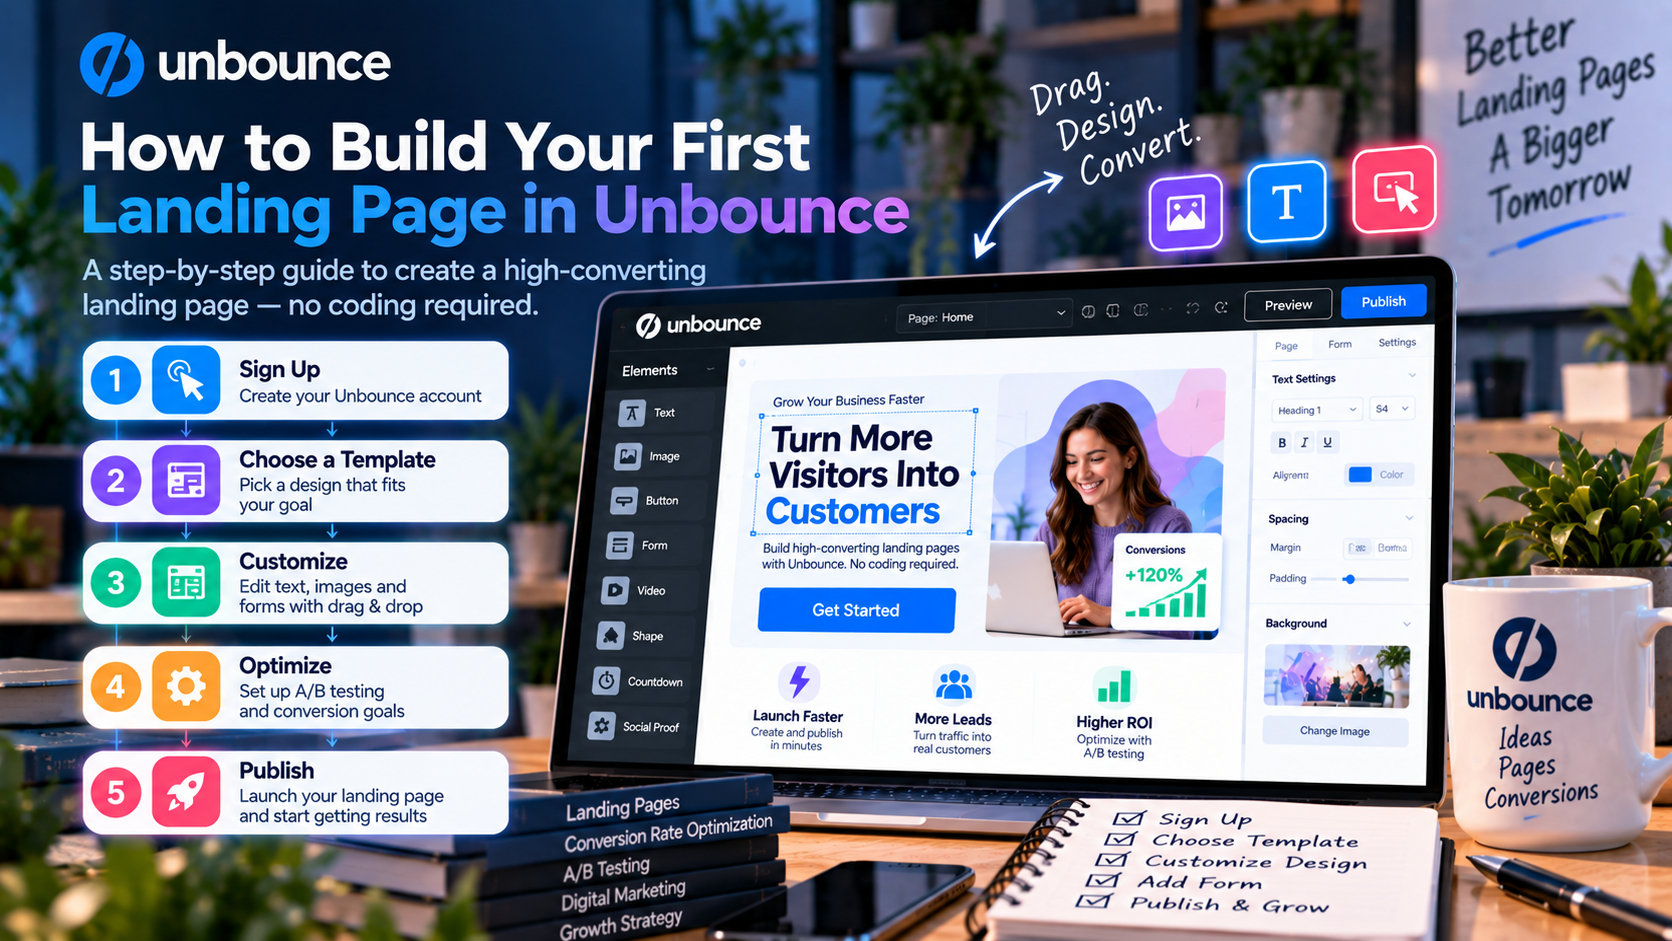
Step 1: Define Your Goal
Before opening the page builder, determine exactly what you want visitors to do.
Common landing page goals include:
- Generate leads
- Collect newsletter subscribers
- Promote a free trial
- Book product demos
- Sell a product
- Register webinar attendees
- Download an eBook
Every element on your landing page should support this single objective.
Step 2: Choose a Landing Page Template
Unbounce offers a large library of professionally designed templates for different industries and campaign types.
Popular categories include:
- SaaS
- Ecommerce
- Consulting
- Real Estate
- Healthcare
- Education
- Lead Generation
- Event Registration
Choose a template that closely matches your campaign goals. Starting with a template saves time while ensuring a professional layout.
Step 3: Customize Your Page
Using Unbounce's drag-and-drop editor, you can easily modify every section of your landing page.
Typical sections include:
Hero Section
Capture attention immediately with:
- A compelling headline
- Supporting subheadline
- Hero image or video
- Primary CTA button
Benefits Section
Explain how your product or service solves customer problems.
Focus on outcomes instead of simply listing features.
Social Proof
Build credibility with:
- Customer testimonials
- Case studies
- Star ratings
- Client logos
- Awards
Call-to-Action
Your CTA should clearly tell visitors what to do.
Examples include:
- Start Free Trial
- Get Started
- Download Now
- Book a Demo
- Claim Your Offer
Step 4: Add a Lead Capture Form
If your goal is lead generation, create a simple form.
Only request information you actually need.
Typical fields include:
- Name
- Email address
- Company
- Phone number
Shorter forms generally produce higher conversion rates.
Step 5: Optimize for Mobile Devices
More than half of website traffic now comes from smartphones.
Use Unbounce's mobile editor to ensure your landing page:
- Loads quickly
- Displays correctly
- Has readable text
- Includes mobile-friendly buttons
- Uses responsive images
A poor mobile experience can significantly reduce conversions.
Step 6: Connect Your Domain
Once your page is ready, publish it using:
- Your own custom domain
- A campaign subdomain
- An Unbounce test domain
Using your business domain helps build trust and reinforces your brand identity.
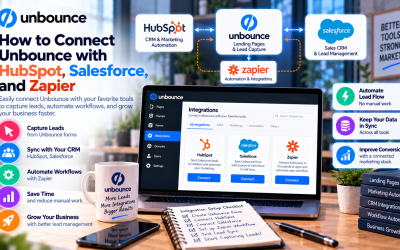
Step 7: Integrate with Your Marketing Tools
A landing page becomes much more powerful when connected to your existing software.
Popular integrations include:
- HubSpot
- Salesforce
- Mailchimp
- ActiveCampaign
- Google Analytics
- Google Ads
- Zapier
These integrations automatically send new leads to your CRM or email marketing platform.
Step 8: Enable Conversion Optimization Features
After publishing your page, activate Unbounce's optimization tools.
Smart Traffic
Automatically sends visitors to the landing page variation most likely to convert.
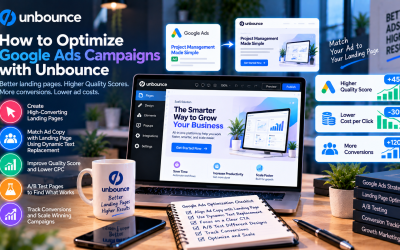
Dynamic Text Replacement
Personalizes headlines based on Google Ads keywords.
Popups and Sticky Bars
Capture additional leads through exit-intent offers, newsletters, or limited-time promotions.
Together, these features help maximize campaign performance.
Step 9: Run an A/B Test
Never assume your first version is the best.
Create a second variation and test elements such as:
- Headlines
- CTA buttons
- Images
- Forms
- Pricing
- Testimonials
Even small improvements can increase conversion rates over time.
Step 10: Monitor and Improve Performance
Building your landing page is only the beginning.
Track important metrics, including:
- Visitors
- Conversion rate
- Bounce rate
- Form submissions
- Traffic sources
Review analytics regularly and continue testing new ideas to improve results.
Common Beginner Mistakes
When creating a landing page, avoid these common errors:
- Including multiple calls to action
- Writing vague headlines
- Using long lead forms
- Ignoring mobile optimization
- Adding unnecessary navigation links
- Publishing without testing
- Forgetting to connect analytics tools
Eliminating these mistakes can significantly improve campaign performance.
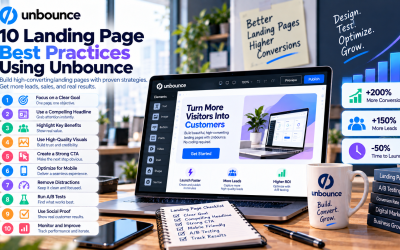
Best Practices for Your First Landing Page
To maximize conversions:
- Focus on one campaign objective.
- Use a strong value proposition.
- Keep the design clean and simple.
- Highlight customer benefits.
- Add trust signals and testimonials.
- Use one clear CTA.
- Keep forms as short as possible.
- Optimize for mobile users.
- Test continuously.
- Review performance data regularly.
Final Verdict
Building your first landing page with Unbounce is a straightforward process that requires no coding experience. By combining professional templates, a drag-and-drop builder, AI-powered Smart Traffic, Dynamic Text Replacement, A/B testing, and seamless integrations, businesses can create landing pages that generate more leads and improve campaign performance.
Whether you're launching your first Google Ads campaign, promoting a webinar, or collecting leads for your business, Unbounce provides all the tools needed to build high-converting landing pages quickly and efficiently. As you gain experience, continuous testing and optimization will help you maximize every visitor and achieve better marketing results.
Write Your Review
No reviews yet. Be the first to share your experience!