
Before you can launch successful outbound campaigns with lemlist, it's important to set up your account correctly. A well-configured account ensures better email deliverability, smoother campaign management, and a more professional outreach experience.
Whether you're using lemlist for the first time or preparing your sales team for outbound prospecting, this guide will walk you through the essential setup process—from creating your account to configuring your first workspace.
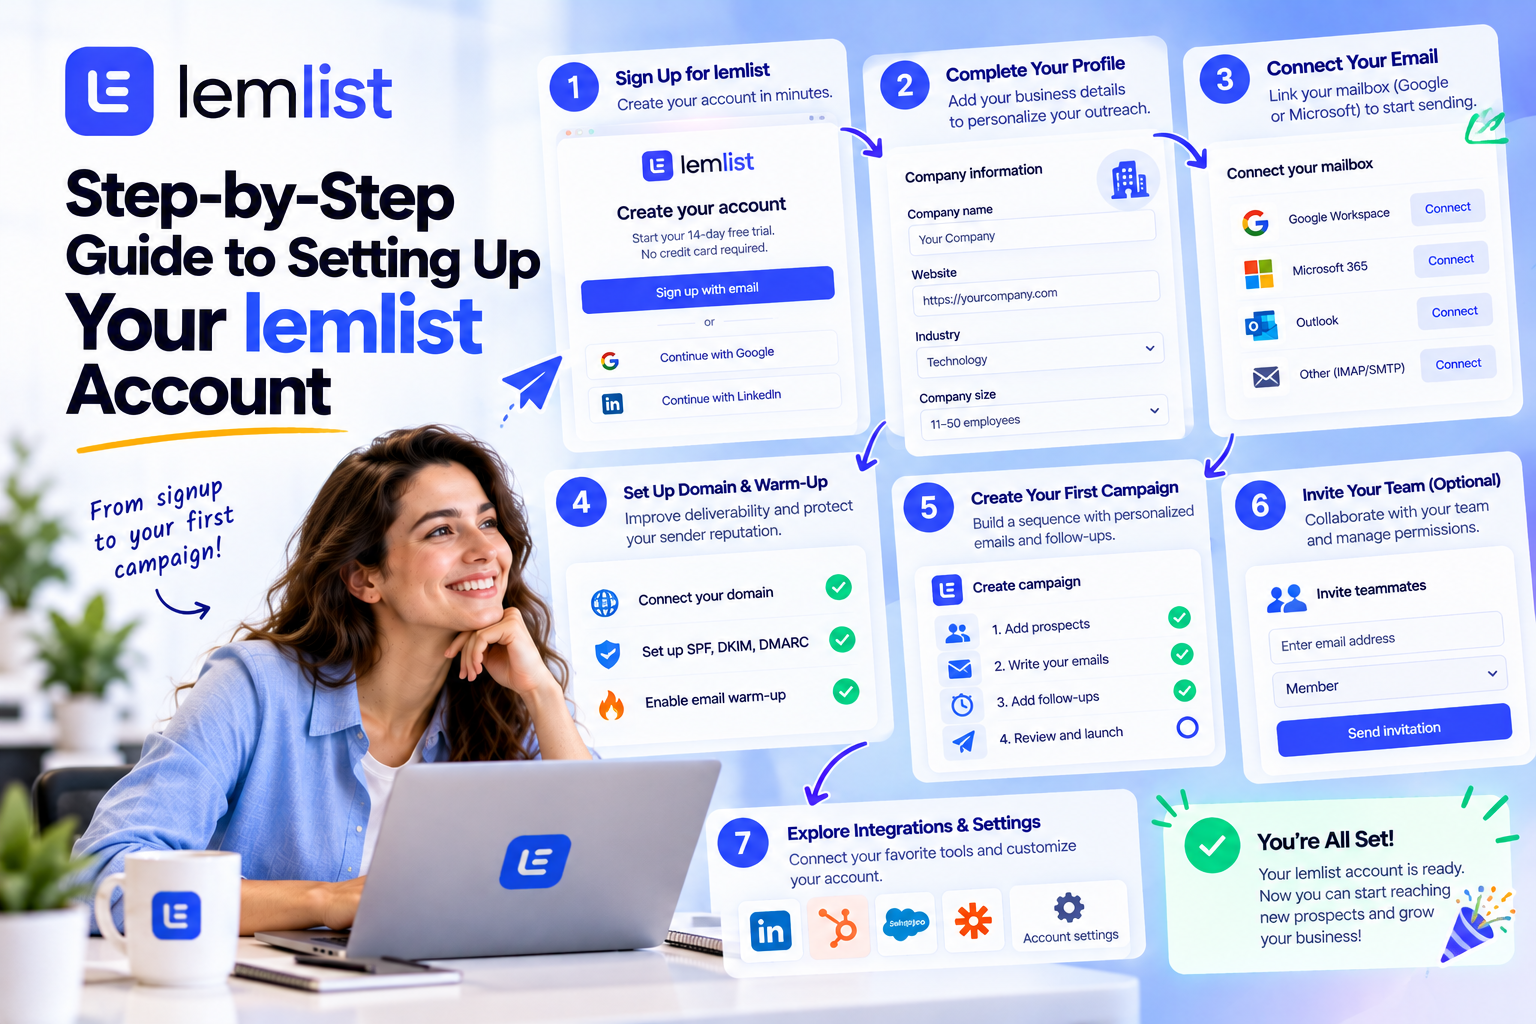
Step 1: Create Your lemlist Account
Visit the official lemlist website and click Start Free Trial or Sign Up.
You'll be asked to provide:
- Your name
- Business email address
- Password
- Company information
Using your business email instead of a free email provider (such as Gmail or Yahoo) helps establish credibility and prepares your account for professional outreach.
Once you've completed the registration form, lemlist will send a verification email.
Step 2: Verify Your Email Address
Open the verification email and click the confirmation link.
This step activates your account and confirms ownership of your email address.
Without verification, some platform features may remain unavailable.
After verification, log in to access your dashboard.
Step 3: Create or Join a Workspace
A workspace is where your campaigns, contacts, templates, and reports are stored.
If you're working independently, simply create a new workspace.
If you're joining an existing sales team, request an invitation from your workspace administrator and accept the invite.
Organizing workspaces correctly helps separate campaigns, manage permissions, and collaborate more efficiently.
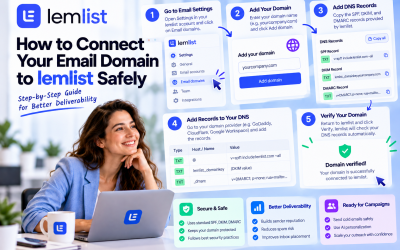
Step 4: Connect Your Email Account
Before sending any campaigns, you'll need to connect the email account you'll use for outreach.
lemlist supports popular providers such as:
- Google Workspace (Gmail)
- Microsoft Outlook
- Microsoft 365
- SMTP and IMAP email servers
Follow the on-screen instructions to authorize access securely.
Connecting your mailbox allows lemlist to send emails, receive replies, and automatically manage follow-up sequences.
Step 5: Complete Your Profile
Take a few minutes to personalize your account.
Update information such as:
- Full name
- Job title
- Company name
- Profile photo
- Email signature
A professional signature should include your:
- Name
- Position
- Company
- Website
- LinkedIn profile (optional)
This information appears in your emails and helps build trust with prospects.
Step 6: Configure Basic Sending Preferences
Before launching campaigns, review your account settings.
Recommended configurations include:
- Correct time zone
- Business working hours
- Preferred email language
- Daily sending limits
- Email tracking preferences
These settings ensure campaigns are delivered at the right time and comply with your outreach strategy.
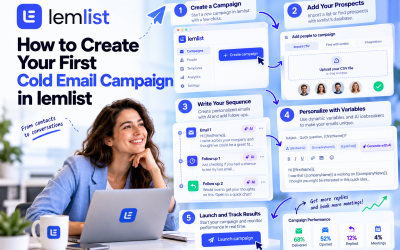
Step 7: Import or Create Your Contact List
Now it's time to prepare your audience.
You can:
- Import a CSV file
- Connect your CRM
- Build lists using lemlist's prospect database
Before importing contacts, verify that your data is clean and includes important fields like first name, company, and business email address.
Accurate data leads to better personalization and higher engagement.
Step 8: Explore the Dashboard
Spend a few minutes familiarizing yourself with the platform.
Key sections include:
- Campaigns
- People
- Templates
- Analytics
- Integrations
- Settings
Understanding where these tools are located will make creating and managing campaigns much easier later.
Best Practices for New Users
To get the best results from lemlist:
- Use a business domain for outreach.
- Verify your email before connecting your mailbox.
- Complete your profile with accurate information.
- Organize contacts into targeted lists.
- Avoid rushing into large campaigns before testing your setup.
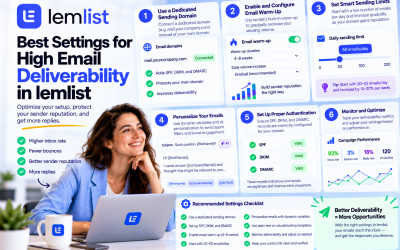
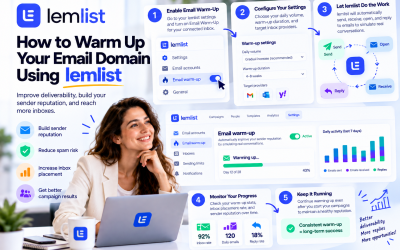
- Enable email warm-up if you're using a new sending domain.
A solid foundation today can prevent deliverability issues and improve campaign performance in the future.
Final Thoughts
Setting up your lemlist account only takes a few minutes, but doing it correctly is essential for long-term success. From verifying your email and connecting your mailbox to configuring your workspace and organizing your contacts, each step helps create a reliable outbound sales system.
Once your account is fully configured, you'll be ready to build personalized campaigns, automate follow-ups, and take advantage of lemlist's AI-powered sales engagement features with confidence.


Write Your Review
No reviews yet. Be the first to share your experience!